
Growing Garlic: How Do You Know When It’s Time to Harvest? And Then What?

Inchelium Red & Nootka Rose
Not only is it important to know which Garlic to plant for your location and how to plant that Garlic, knowing when your Garlic is ready to harvest is key. This season, I experimented with 2 different types of Soft-necked Garlic - Inchelium Red and Nootka Rose.
Inchelium Red Garlic is an artichoke variety that has multiple overlapping layers. This is my most favorite variety, and I’ve planted it in my kitchen garden for years. Bulbs usually are about 3 inches in diameter and contain an average of 15 cloves.
Nootka Rose Garlic is a silverskin variety that has smooth, fine and (usually) white bulb wrappers. Silverskin varieties are the ones most often found in groceries due to their long shelf life. The bulbs are medium-sized with about 15-20 cloves.
How Long Does It Take
In my area of the country (Zone 7b), Garlic is usually planted in October. Timing will vary somewhat if you’re in a different location. But, don’t wait too late to plant because you’ll likely end up with smaller plants and (horrors!) smaller bulbs since roots won’t have time to develop before winter.
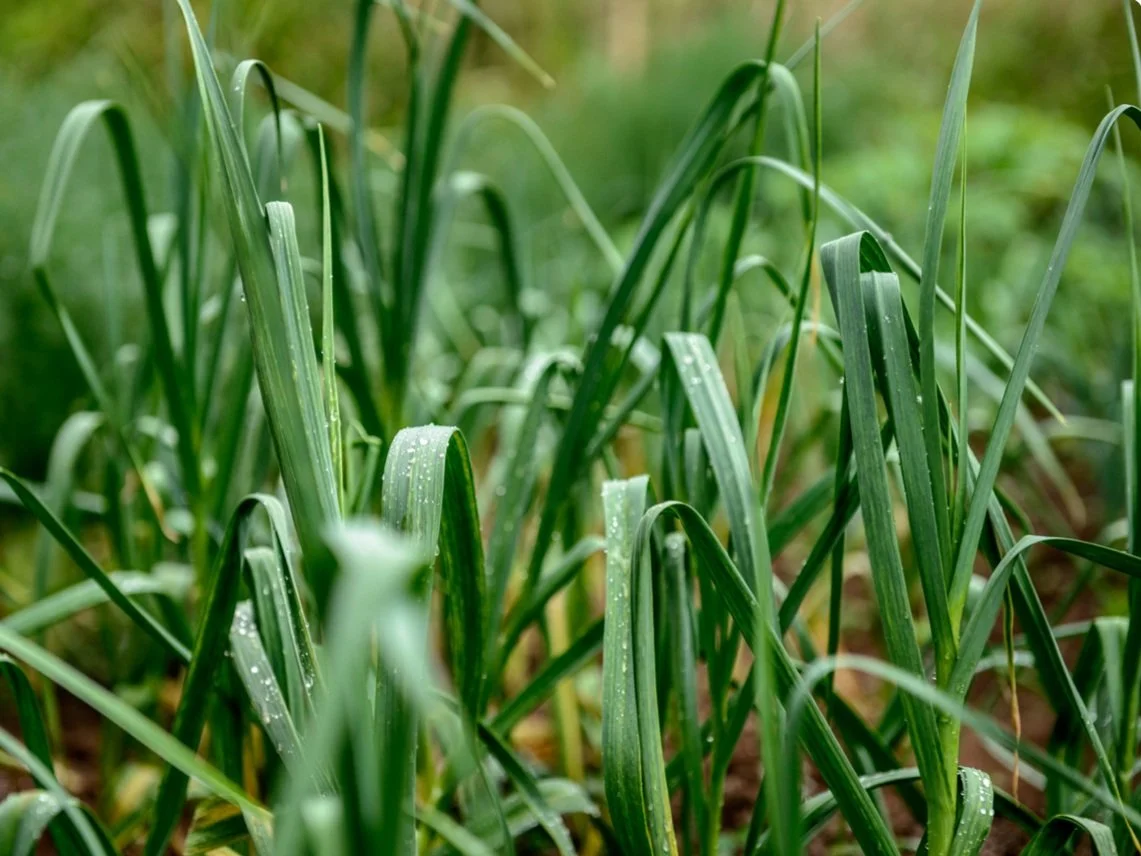
After planting, your Garlic will take approximately 8 months to grow up. There’s not a lot that needs to be done during this time. Some growers like to use a nitrogen fertilizer before planting in the fall, and then again in the spring. But mostly, you’ll be watching for pests and/or diseases. And unless you’re growing a really large number of bulbs, you probably won’t see any.

Is It Ready Yet
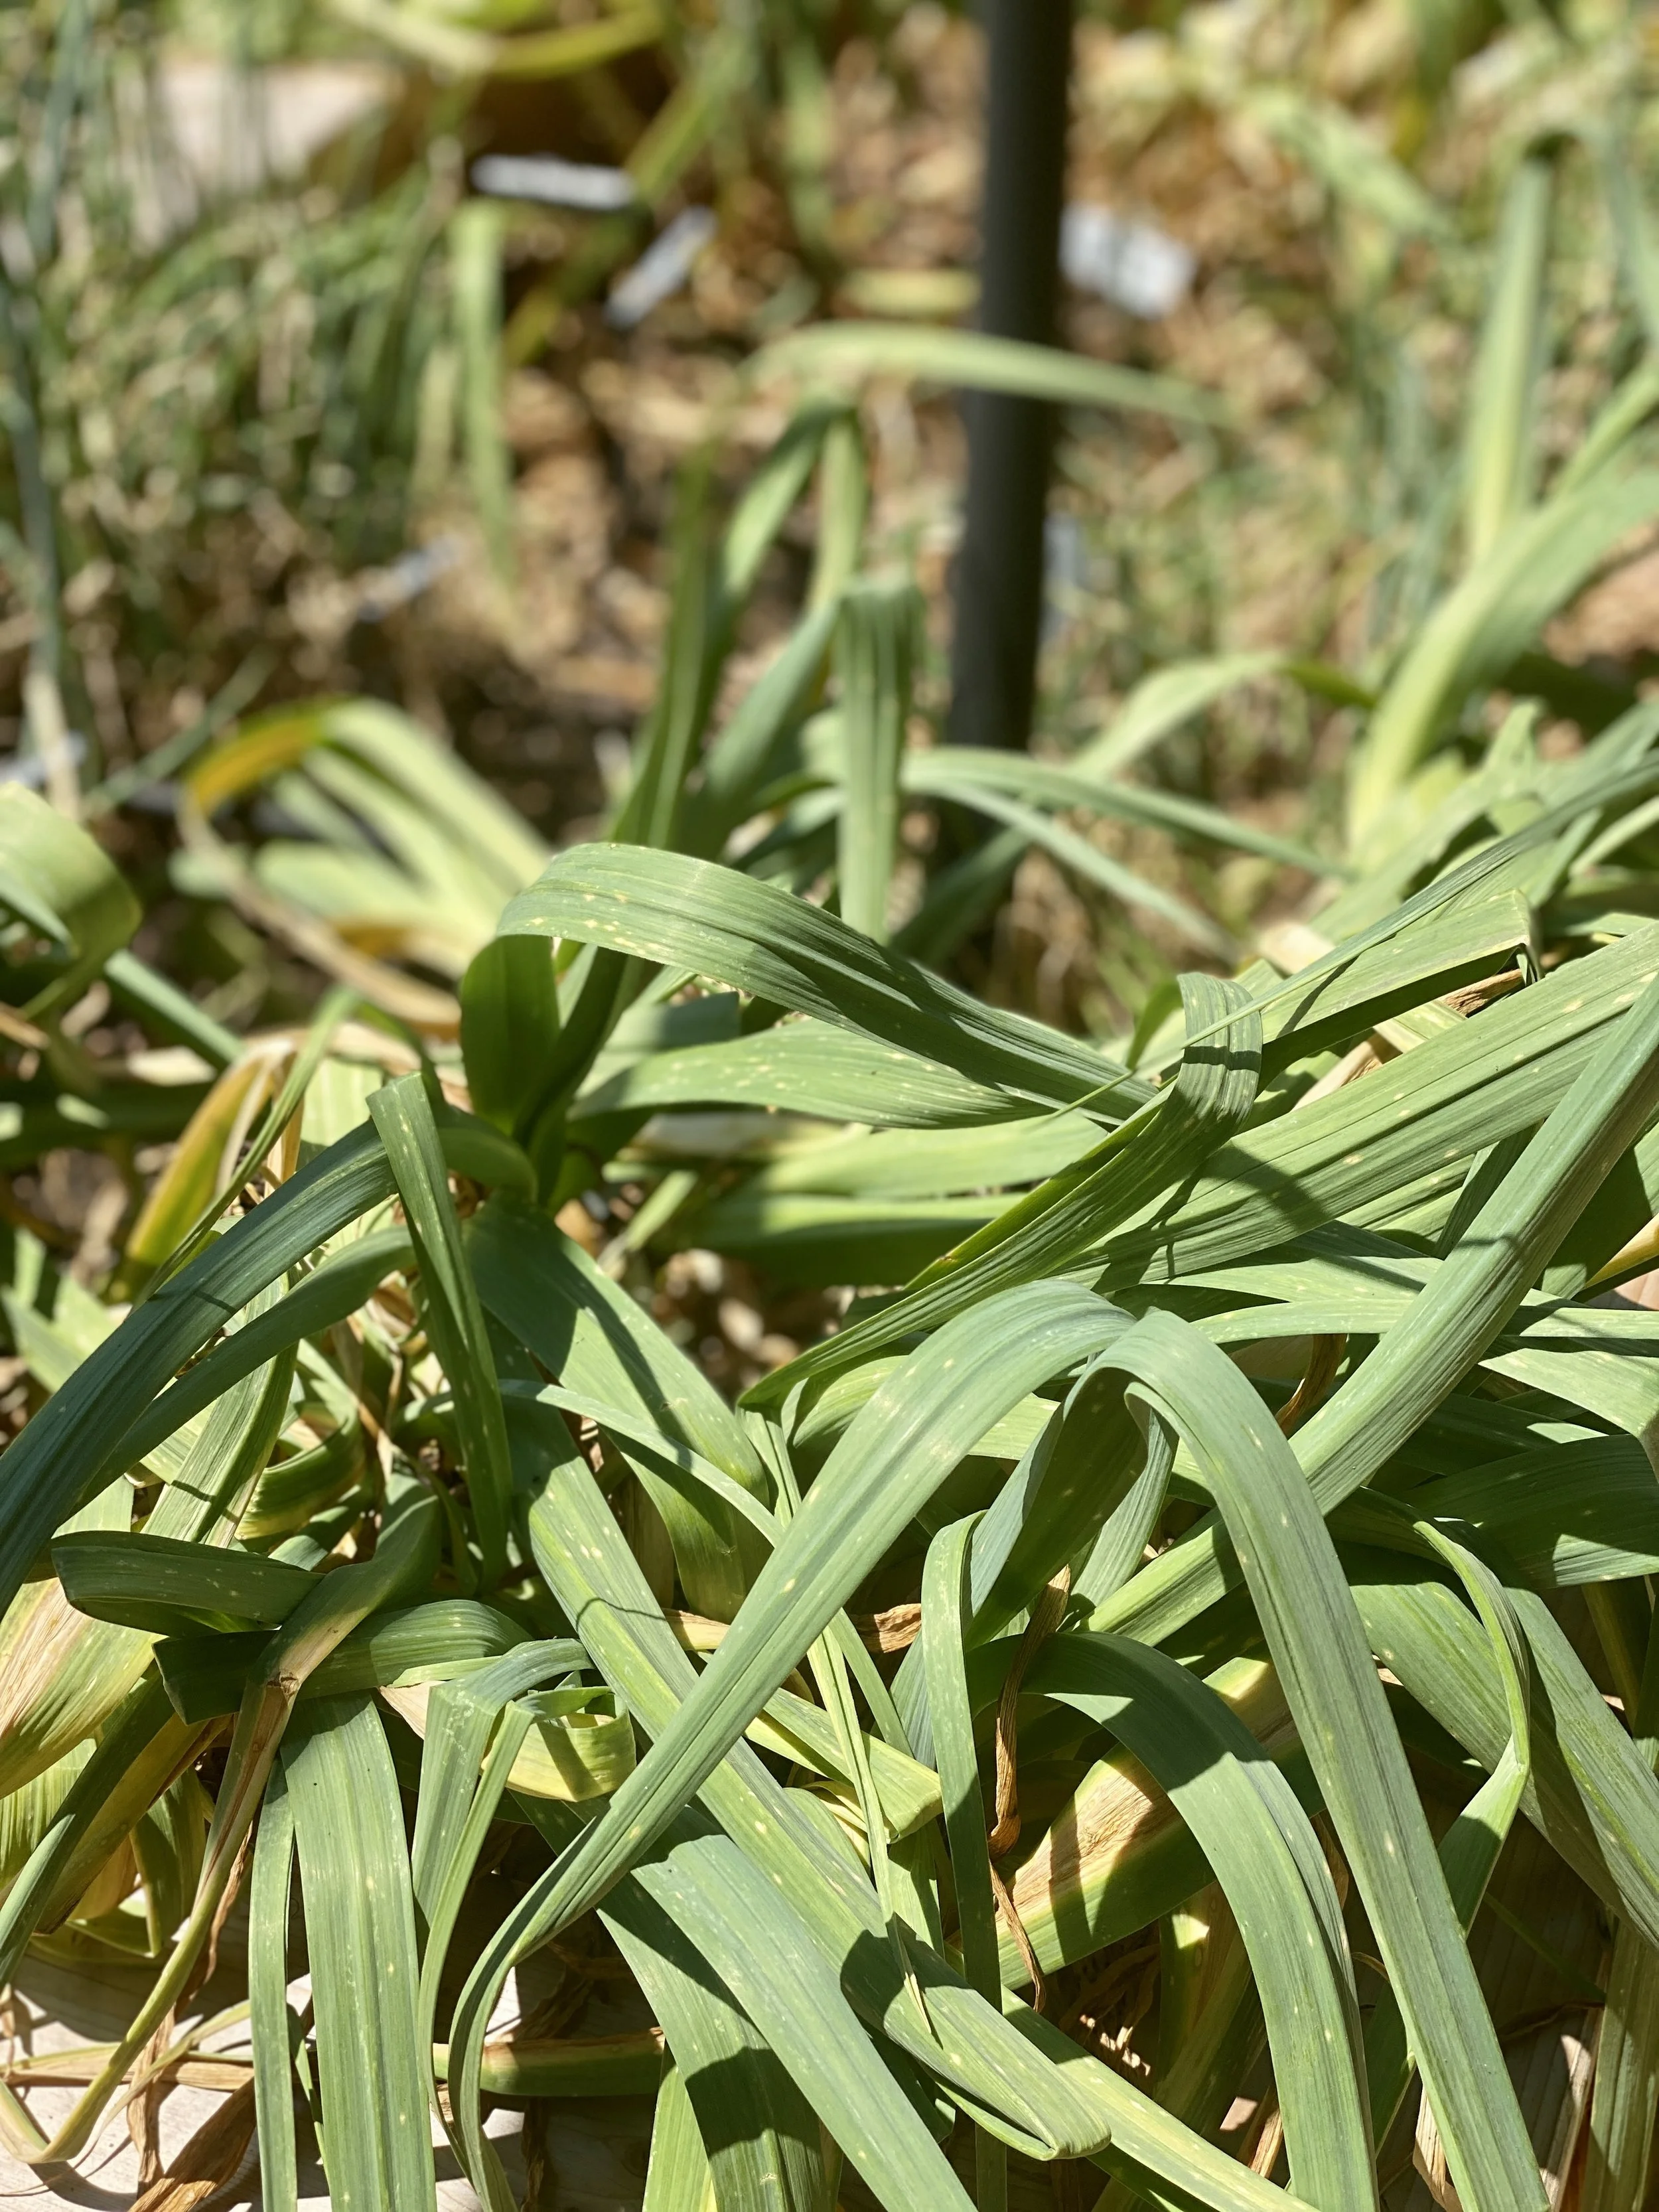
Garlic is harvested based on the number of green plant leaves remaining. When the lower leaves are turning yellow and there are about 6 green leaves left on the plant, the bulbs are ready. Yay! But don’t wait until the tops have turned brown and the plant has fallen over - by then, it’s too late.

To Clean or Not to Clean
Believe it or not, Garlic needs to cure while it’s still dirty. Once it’s been harvested, just gently brush off any excess dirt. Don’t wash the bulbs or get them wet, and keep the Garlic out of the direct sun.
Now it’s time to play the waiting game again. Sigh.

Curing Garlic
Curing improves the flavor and hardiness of Garlic. Hang your Garlic in bundles of 8 to 10 in a cool, dark, dry and well-ventilated space. Garlic will need to cure for at least 1 month. During this time, try not to handle it too much. But keep your eyes on it, in case any of the bulbs begin to spoil.

It’s Finally Ready
Store your Garlic in a cool, dry and well-ventilated area. I hang mine in mesh bags hung from the ceiling in our basement. Whatever you do - don’t store Garlic in a closed container.
And that’s a Garlic harvest! Enjoy!
Not all Garlic is created equal. Get the Kitchenairy Gardens Garlic Guide and learn all you need to know about growing Garlic. And be sure to follow me on Instagram and Facebook (@kitchenairygardens) and on Pinterest (@kissmygardenish).
Get your Garlic on!