
Microgreens: Tiny Greens with Big Impact
There’s something so satisfying about planting a tray of seeds and watching them transform into a carpet of bright, tender greens in just a couple of weeks. Microgreens may be small, but they bring huge flavor, color and nutrition to the table - and you don’t need a big garden (or much experience) to grow them successfully.
But before we dive in - just FYI - microgreens are NOT sprouts! While they often get lumped together, they’re actually very different. Sprouts are germinated seeds grown in water or a moist environment, and harvested just a few days after the seed begins to sprout. Microgreens grow longer, typically in soil or a growing medium, and you harvest only the stems and leaves once they’re about 2 inches tall.
Microgreens are easy to adapt to whatever space or time you have available. For the simplest approach, all you need is a shallow tray, some soil or growing mats, a sunny window and clean water.
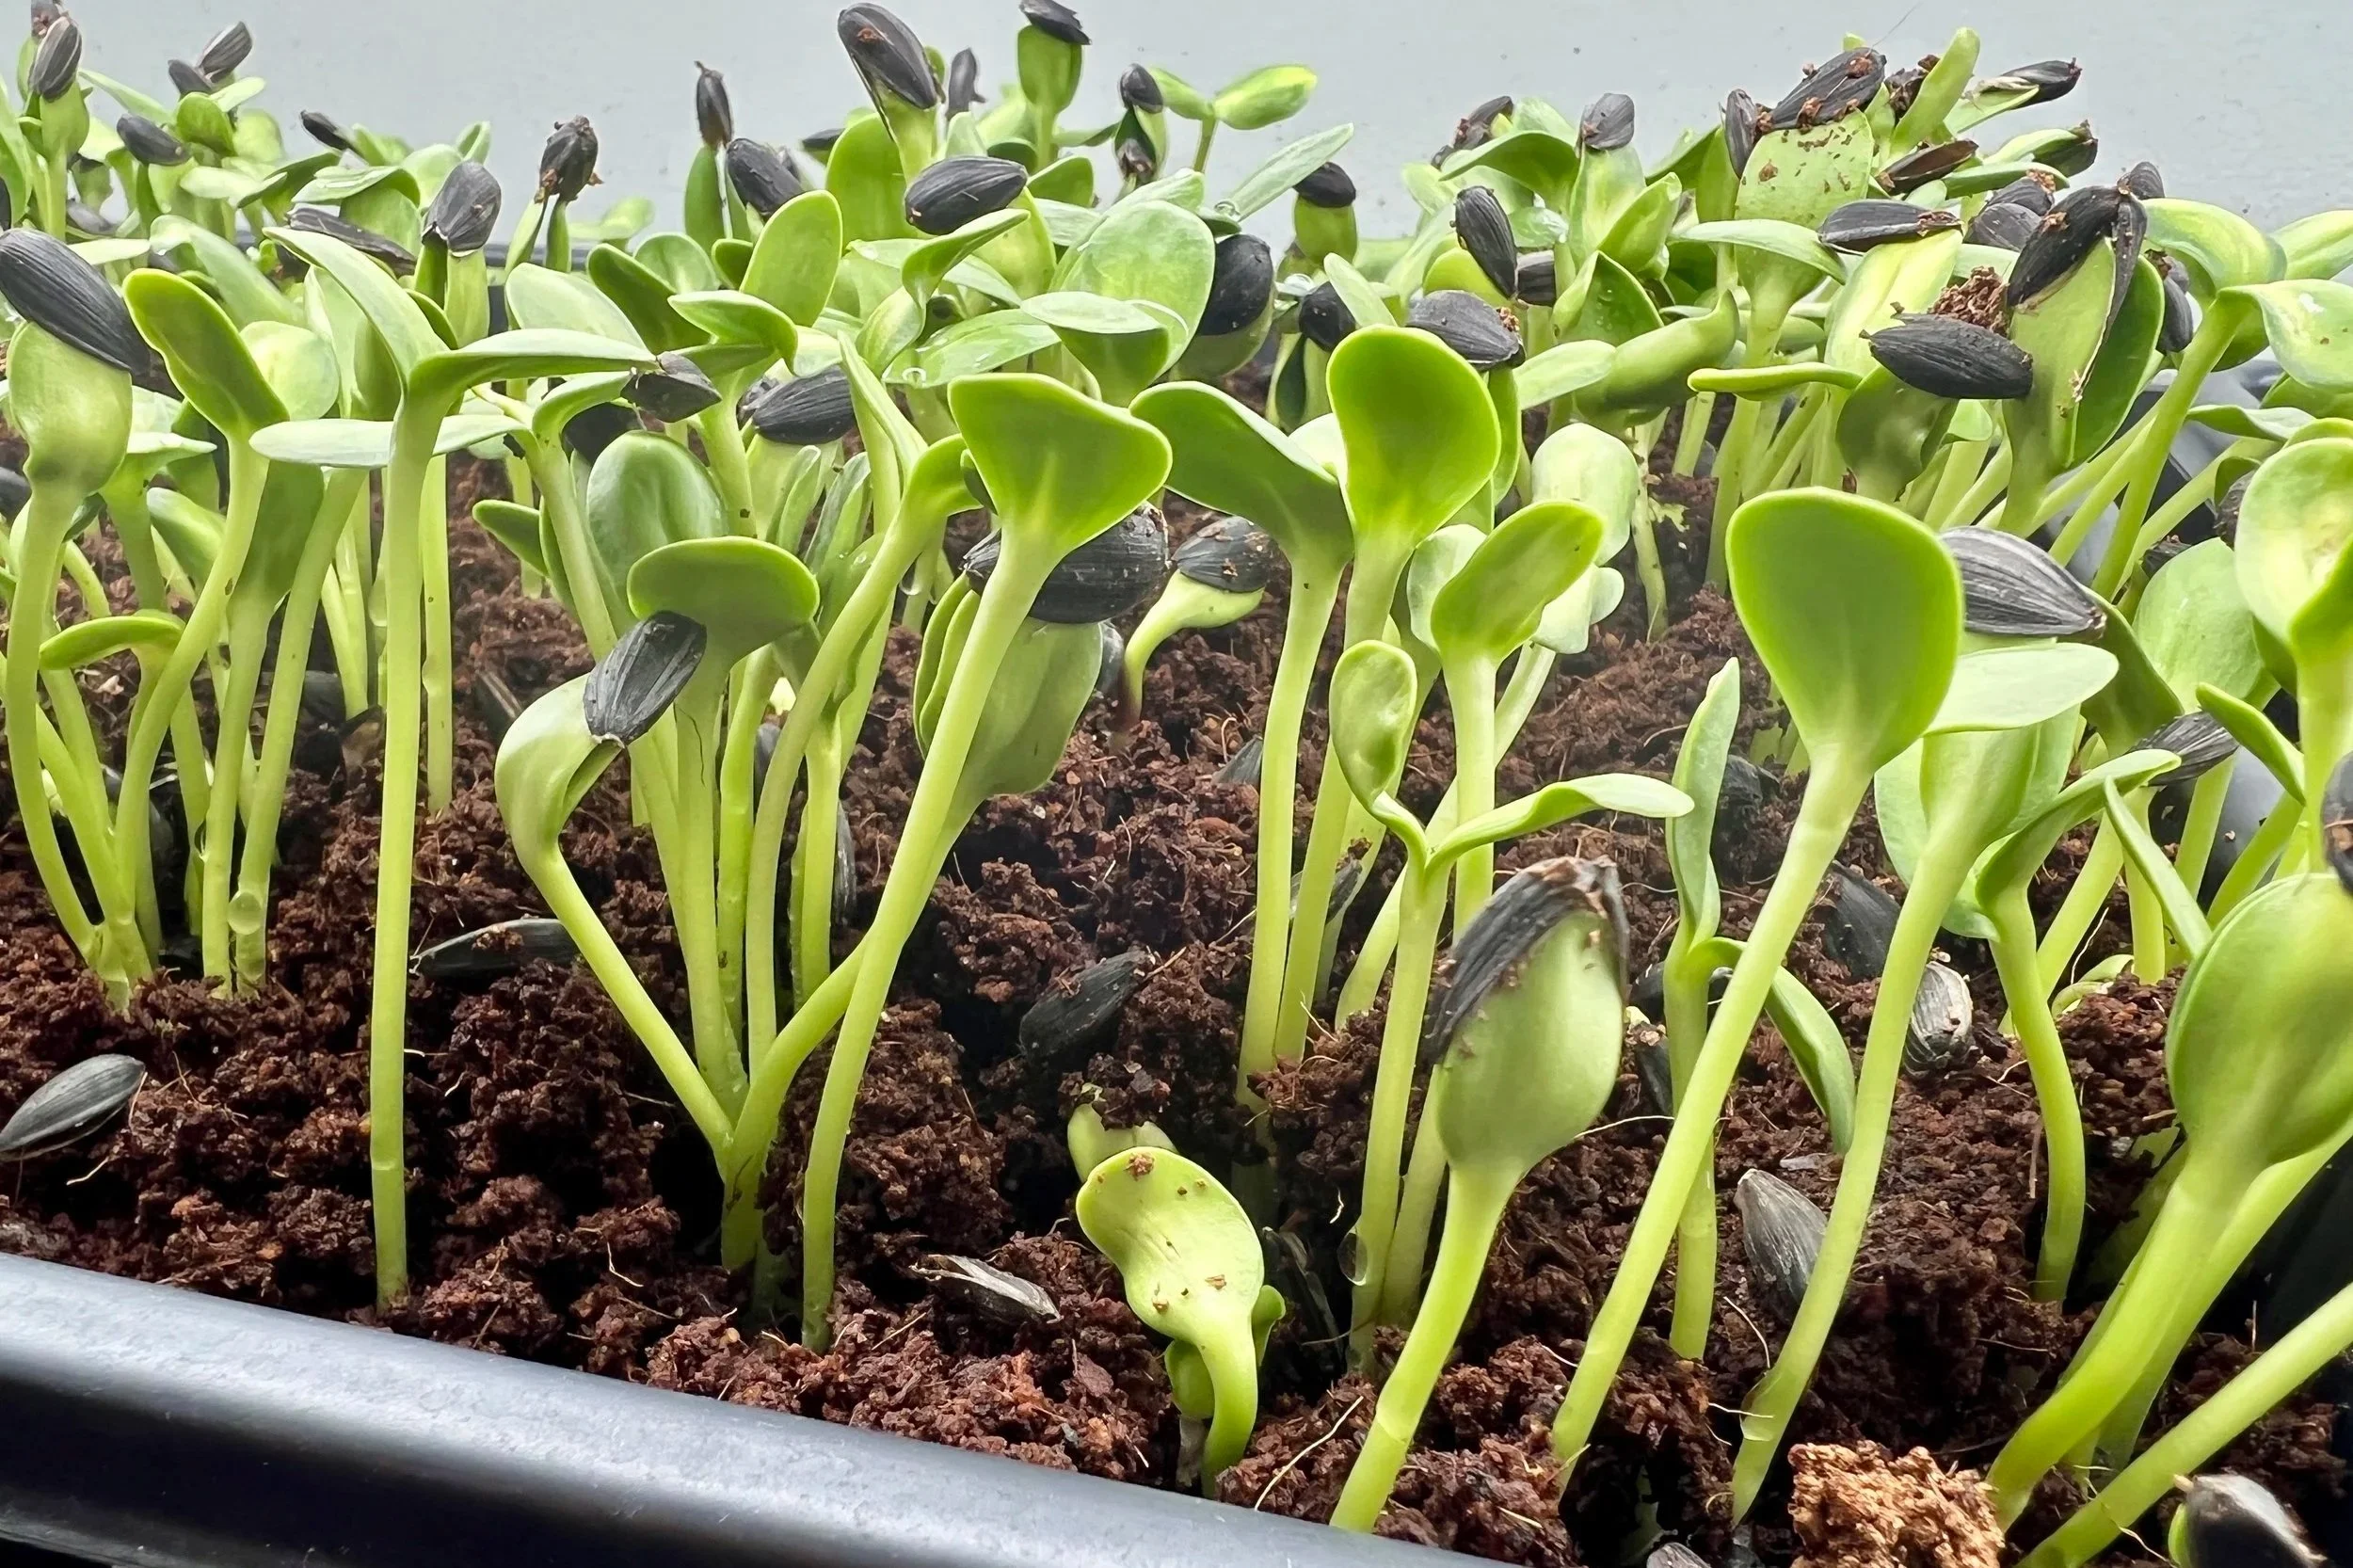
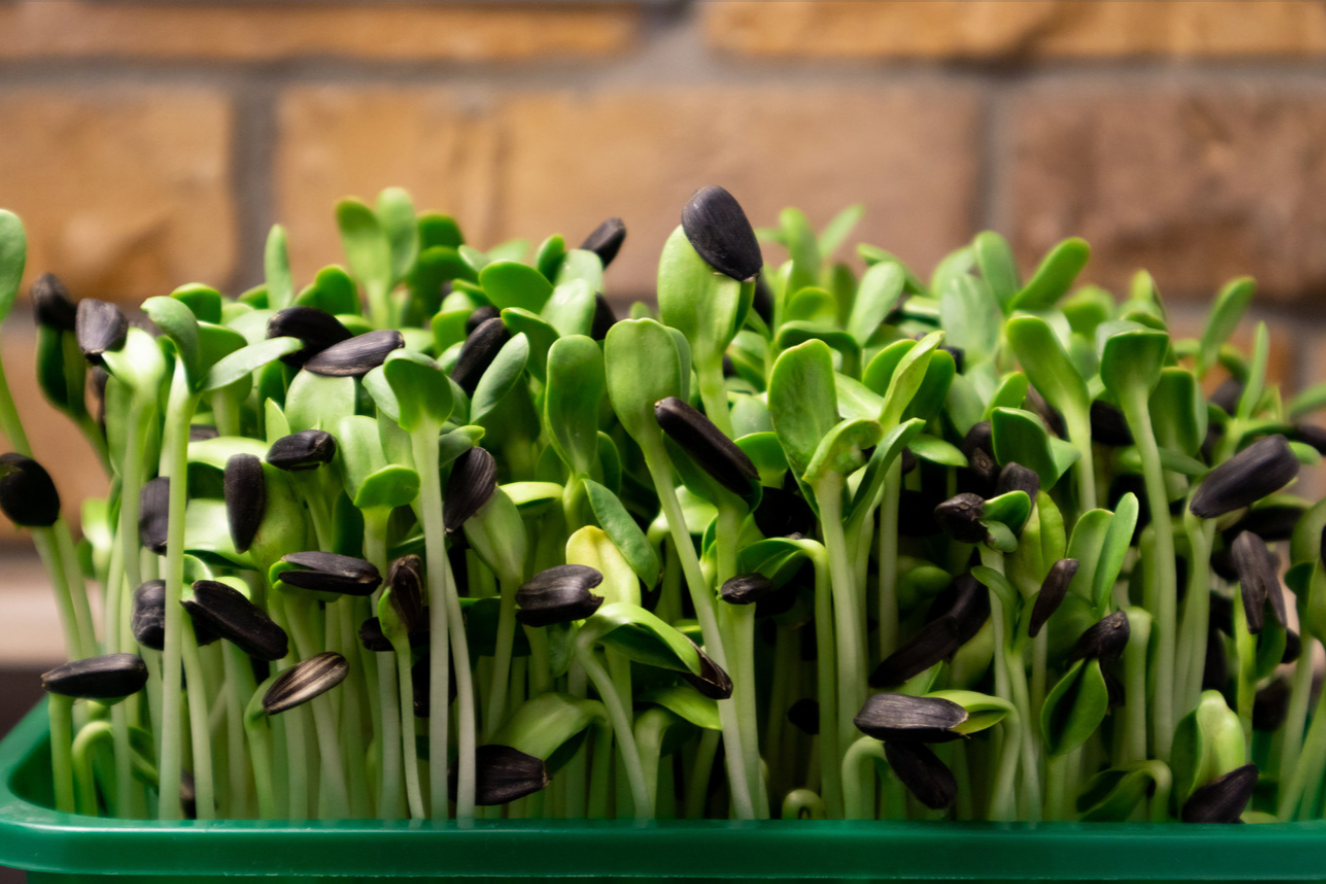
But if you want to go bigger, the micro farm method uses tiered shelving, grow lights and multiple trays to give you a constant supply year-round - which is great for serious home cooks or even a small side business! This is the method I used when growing my sunflower and pea shoots.
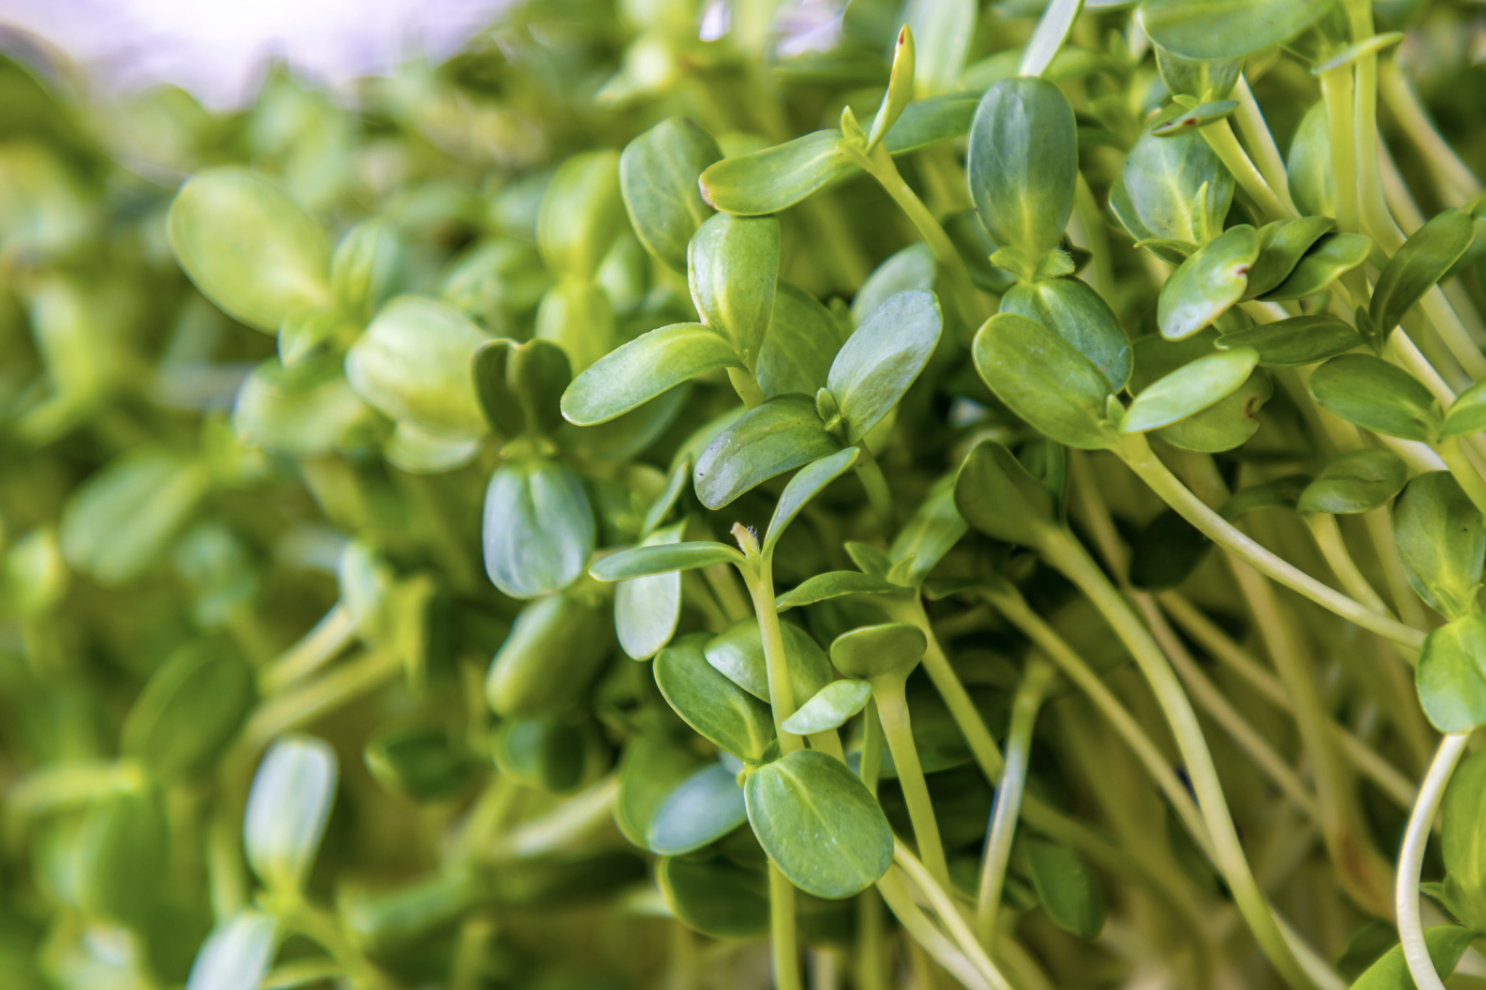
Some microgreens grow fast and with very little fuss, which makes them perfect for first-time growers. Sunflower and pea shoots give a sweet, mild crunch, radish and mustard deliver a peppery kick, and broccoli and kale bring earthy flavors and serious nutrition. Most are ready to harvest within 7 to 21 days, so you get nearly instant gratification compared to regular gardening.
Here’s a quick step-by-step to get you started:
Start your seeds: Choose sprouting seeds from a reputable grower, like Sproutman. Soak your seeds in clean water for 6 to 8 hours. Rinse thoroughly before planting.
Prepare your medium: Add about 2 inches of seed-starting mix to your seed tray.
Sow your seeds: Spread your seeds evenly over the top of the seed-starting mix, press them lightly into the mix, and mist with water.
Create humidity: Cover the tray for 2 to 3 days to help your seeds germinate.
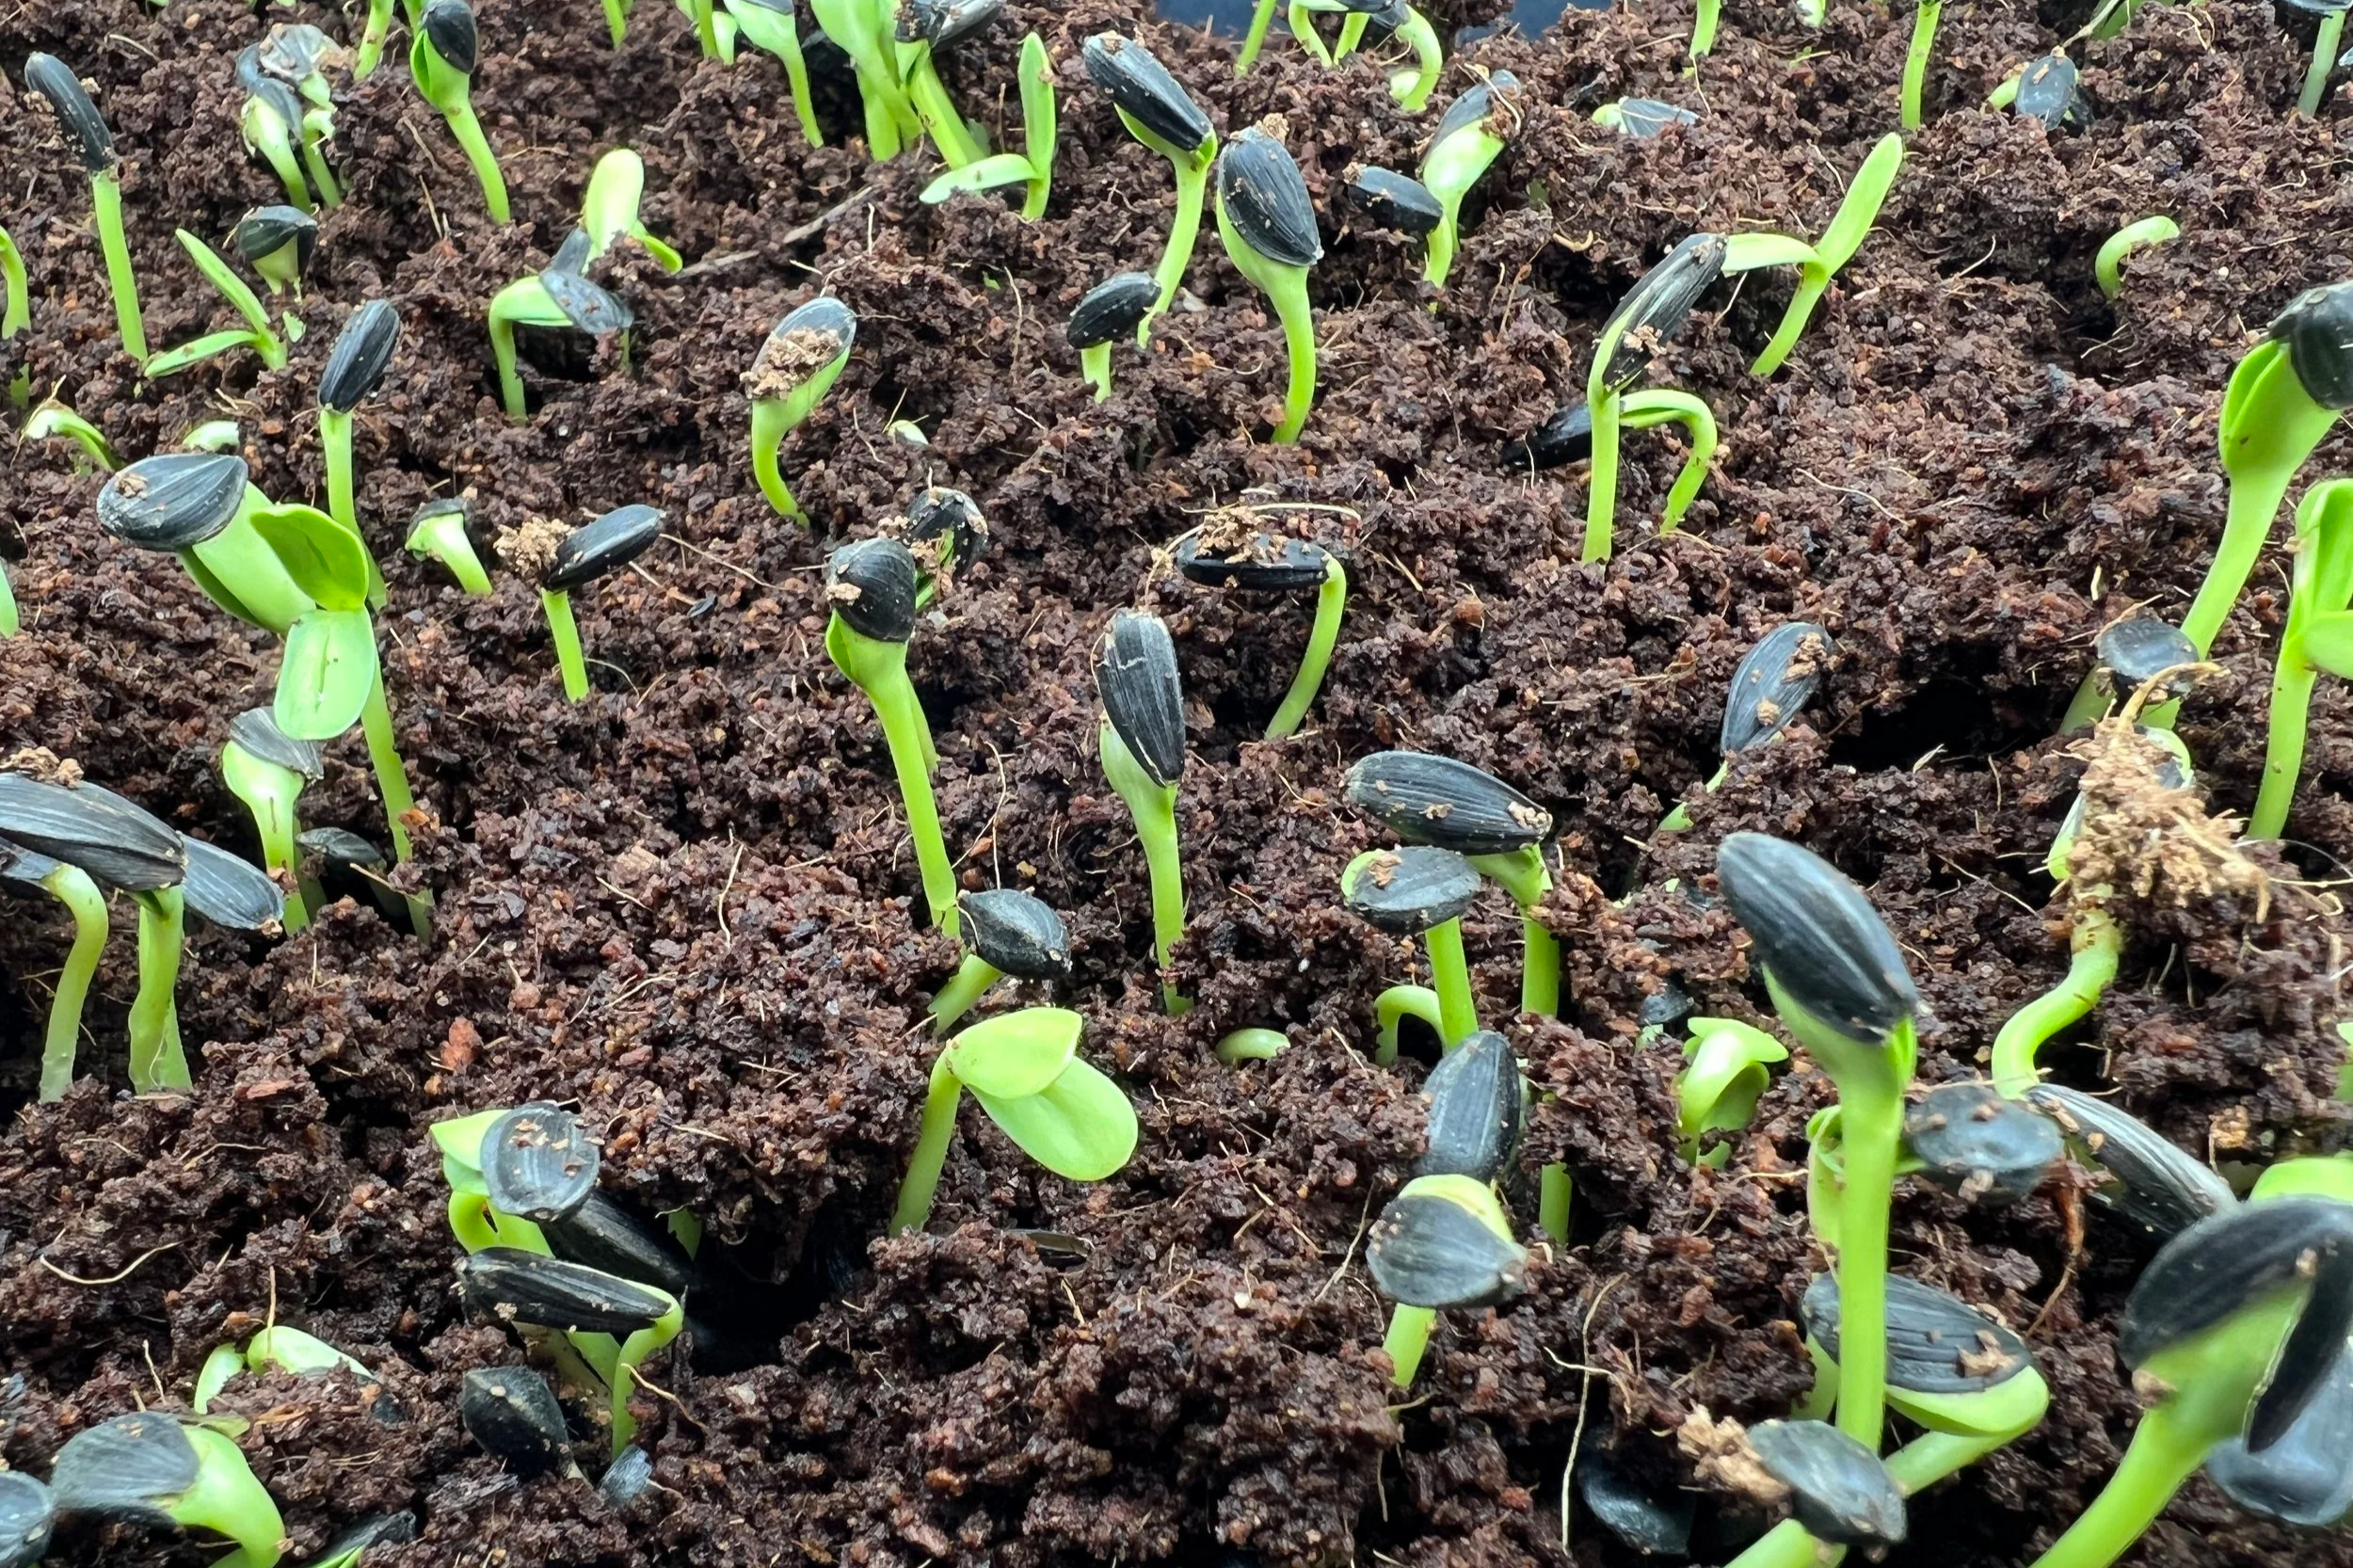
Give them light: Once sprouted, remove the cover and place your microgreens in sunlight or under grow lights.
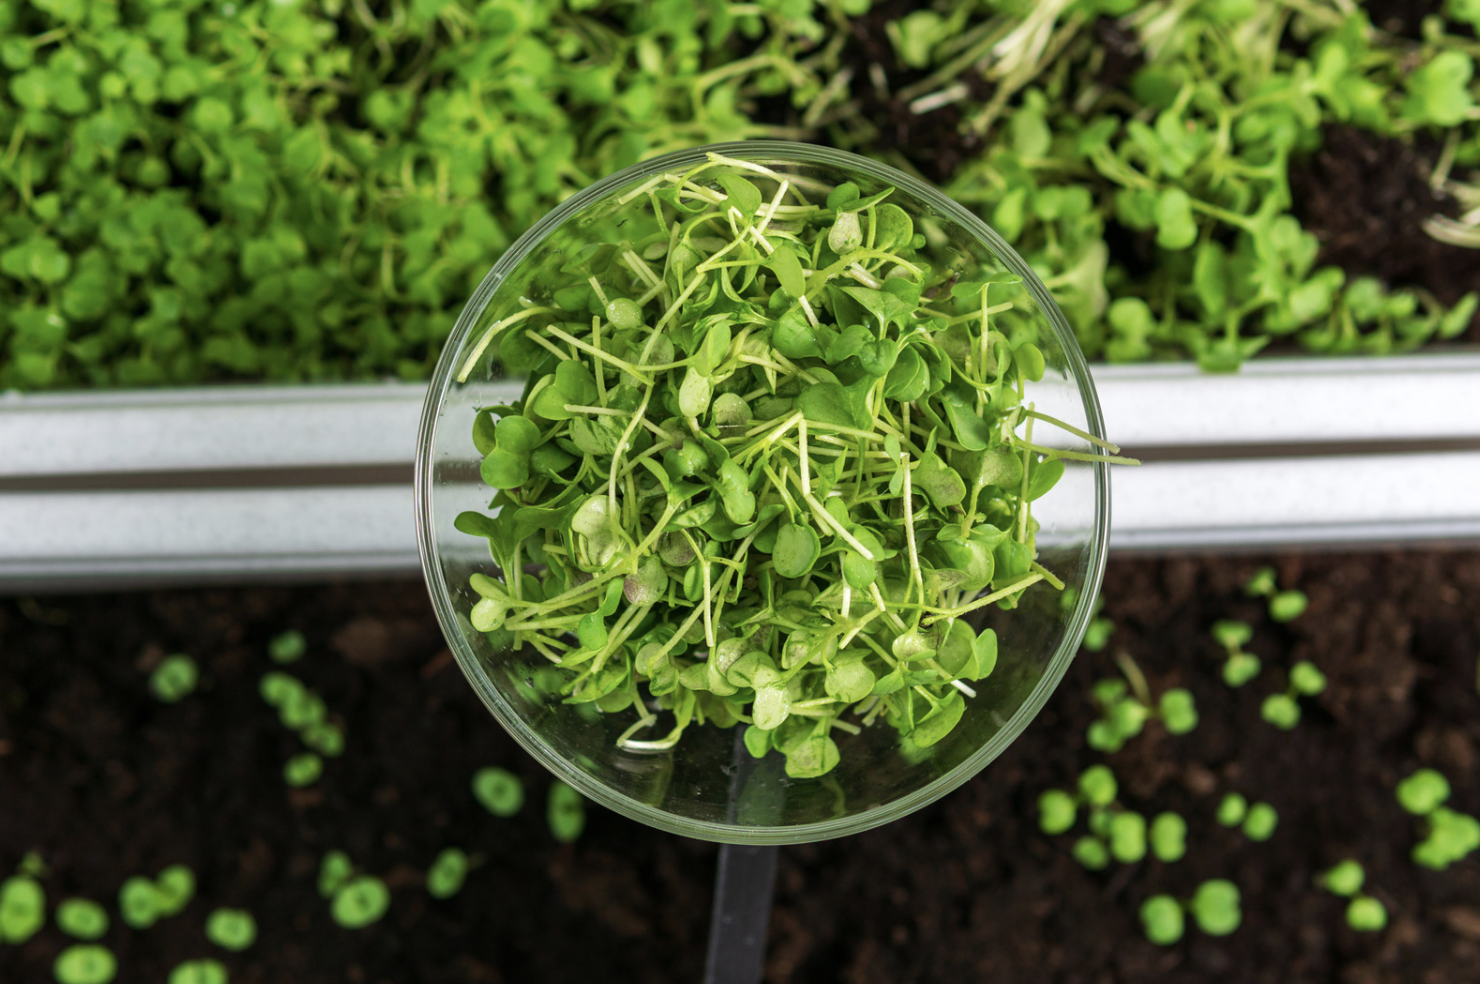
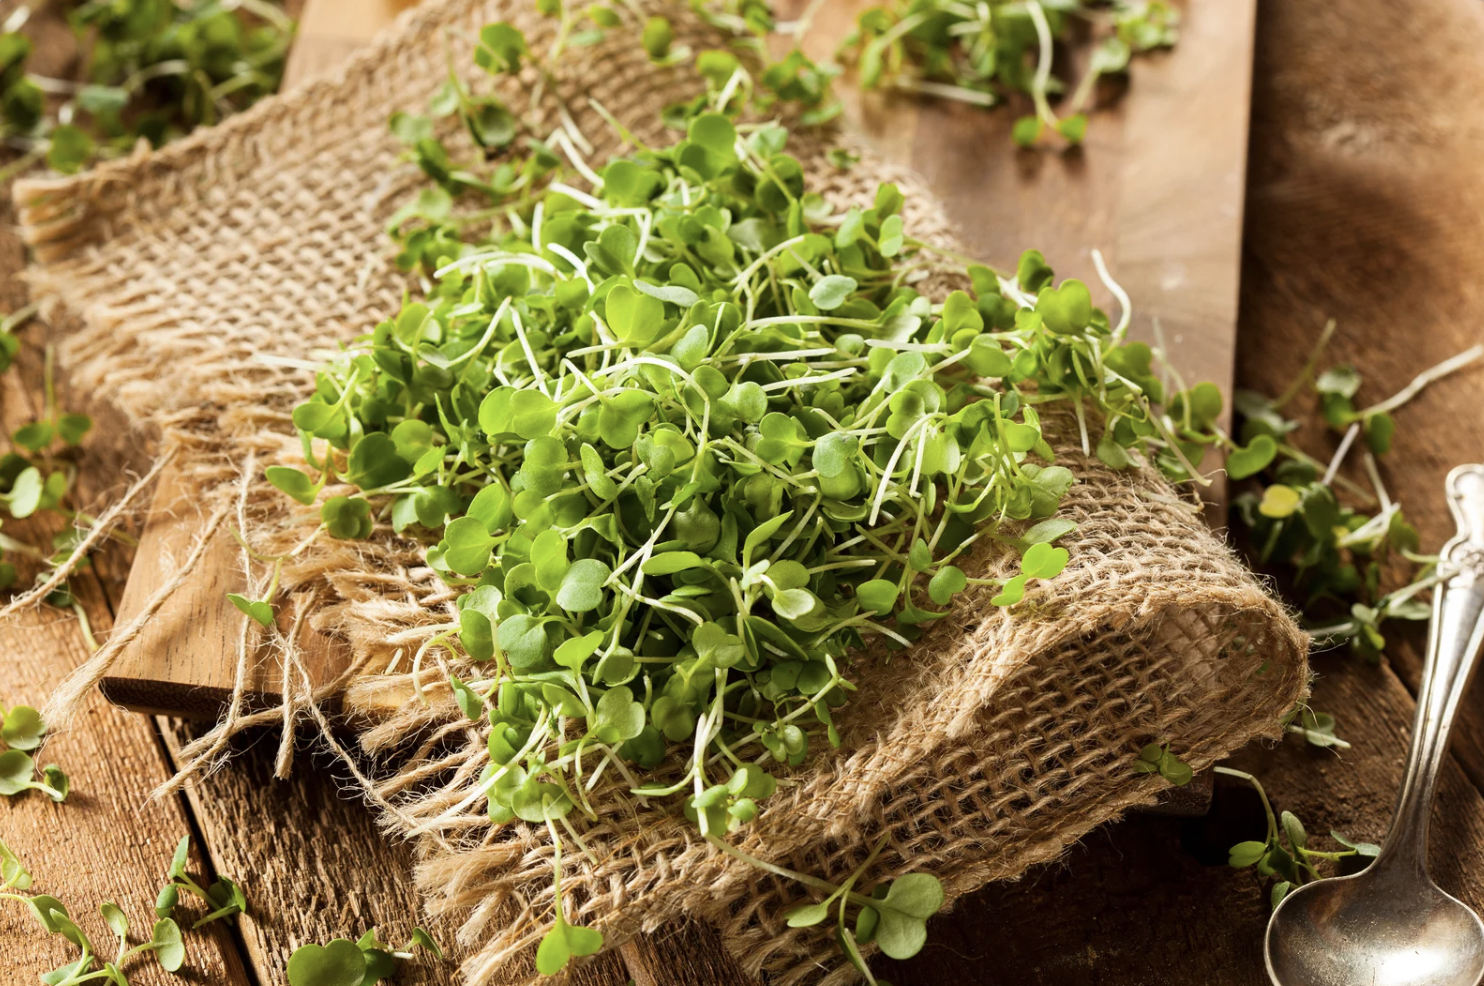
Harvest at the right time: When the first true leaves appear, usually around 10 to 14 days, snip your microgreens just above the soil line.
Research shows microgreens can have up to 40 times more vitamins and antioxidants than their mature counterparts. Broccoli microgreens, for example, are rich in sulforaphane, a compound studied for its anti-inflammatory and antioxidant effects. Other varieties bring vitamin C, vitamin K and beta-carotene to the table - all in just a handful of greens!
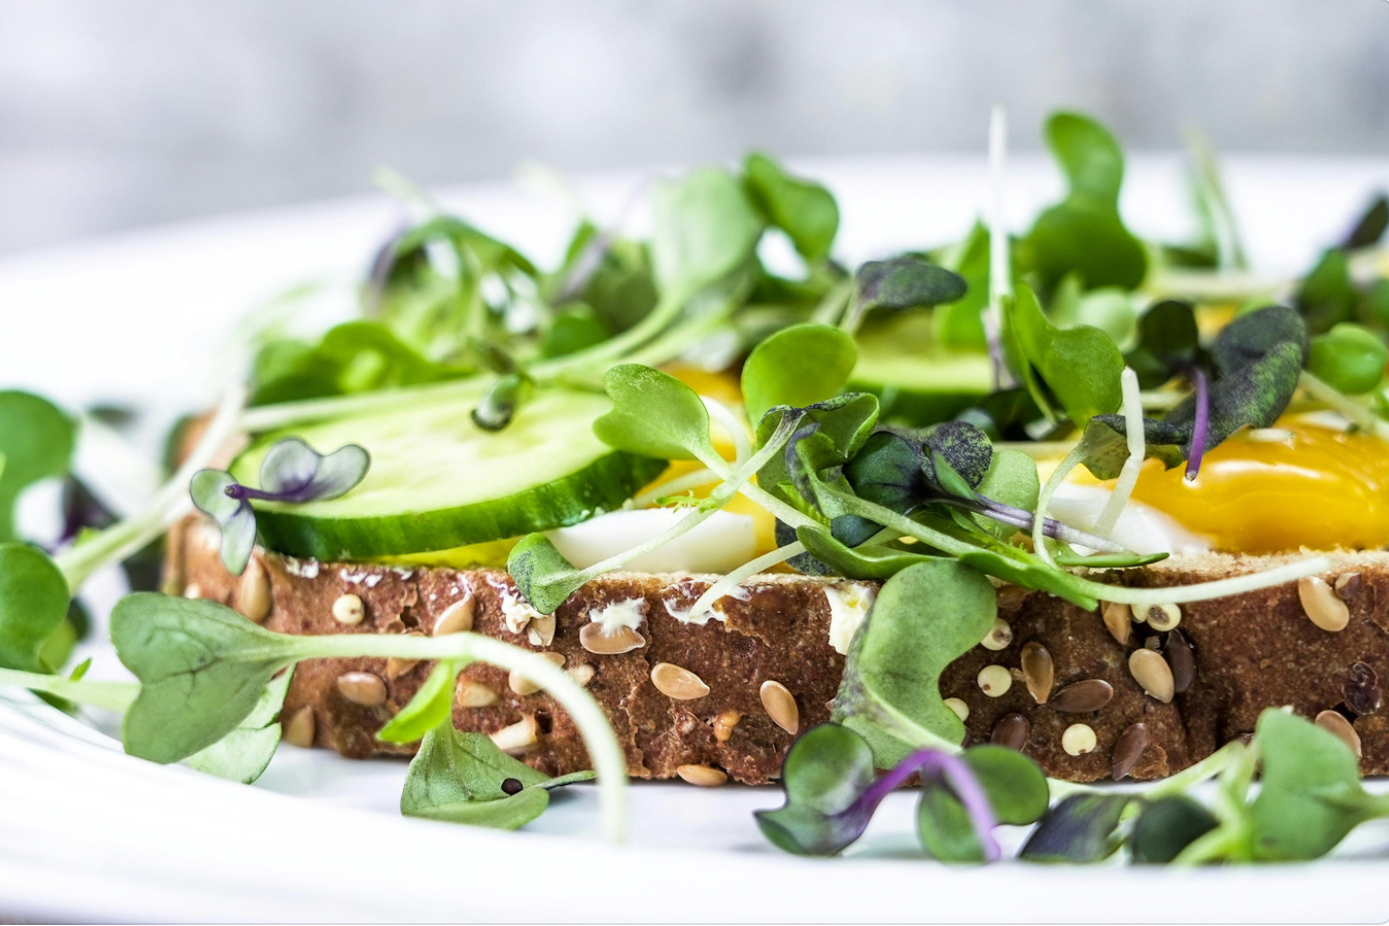
Microgreens add freshness, color and flavor to just about anything. Toss them into salads, fold them into omelets, scatter them over grain bowls, or blend them into smoothies. Their flavors range from sweet and nutty to spicy and sharp, so you can match them to whatever you’re cooking - or just use them to make Tuesday night’s dinner look a little fancier.
Like any fresh produce, microgreens can carry a risk of bacterial contamination if not handled properly. Warm, moist growing conditions can encourage harmful bacteria like E. coli or Salmonella. To reduce risk, always use clean trays, fresh water and reputable seeds meant for sprouting or microgreens. And be sure to wash your microgreens gently before eating.
Whether you stick to a tray on your windowsill or invest in a micro farm setup, growing microgreens brings fast, fresh and nutrient-packed food right to your kitchen. It’s easy, rewarding, and gives you a taste of homegrown goodness even in the middle of winter.
And guess what? Here’s a downloadable Cheat Sheet that includes the easiest microgreens to grow, their flavor profiles, top health benefits and typical growing times. Get the Microgreens Cheat Sheet {HERE}.
Happy growing!